


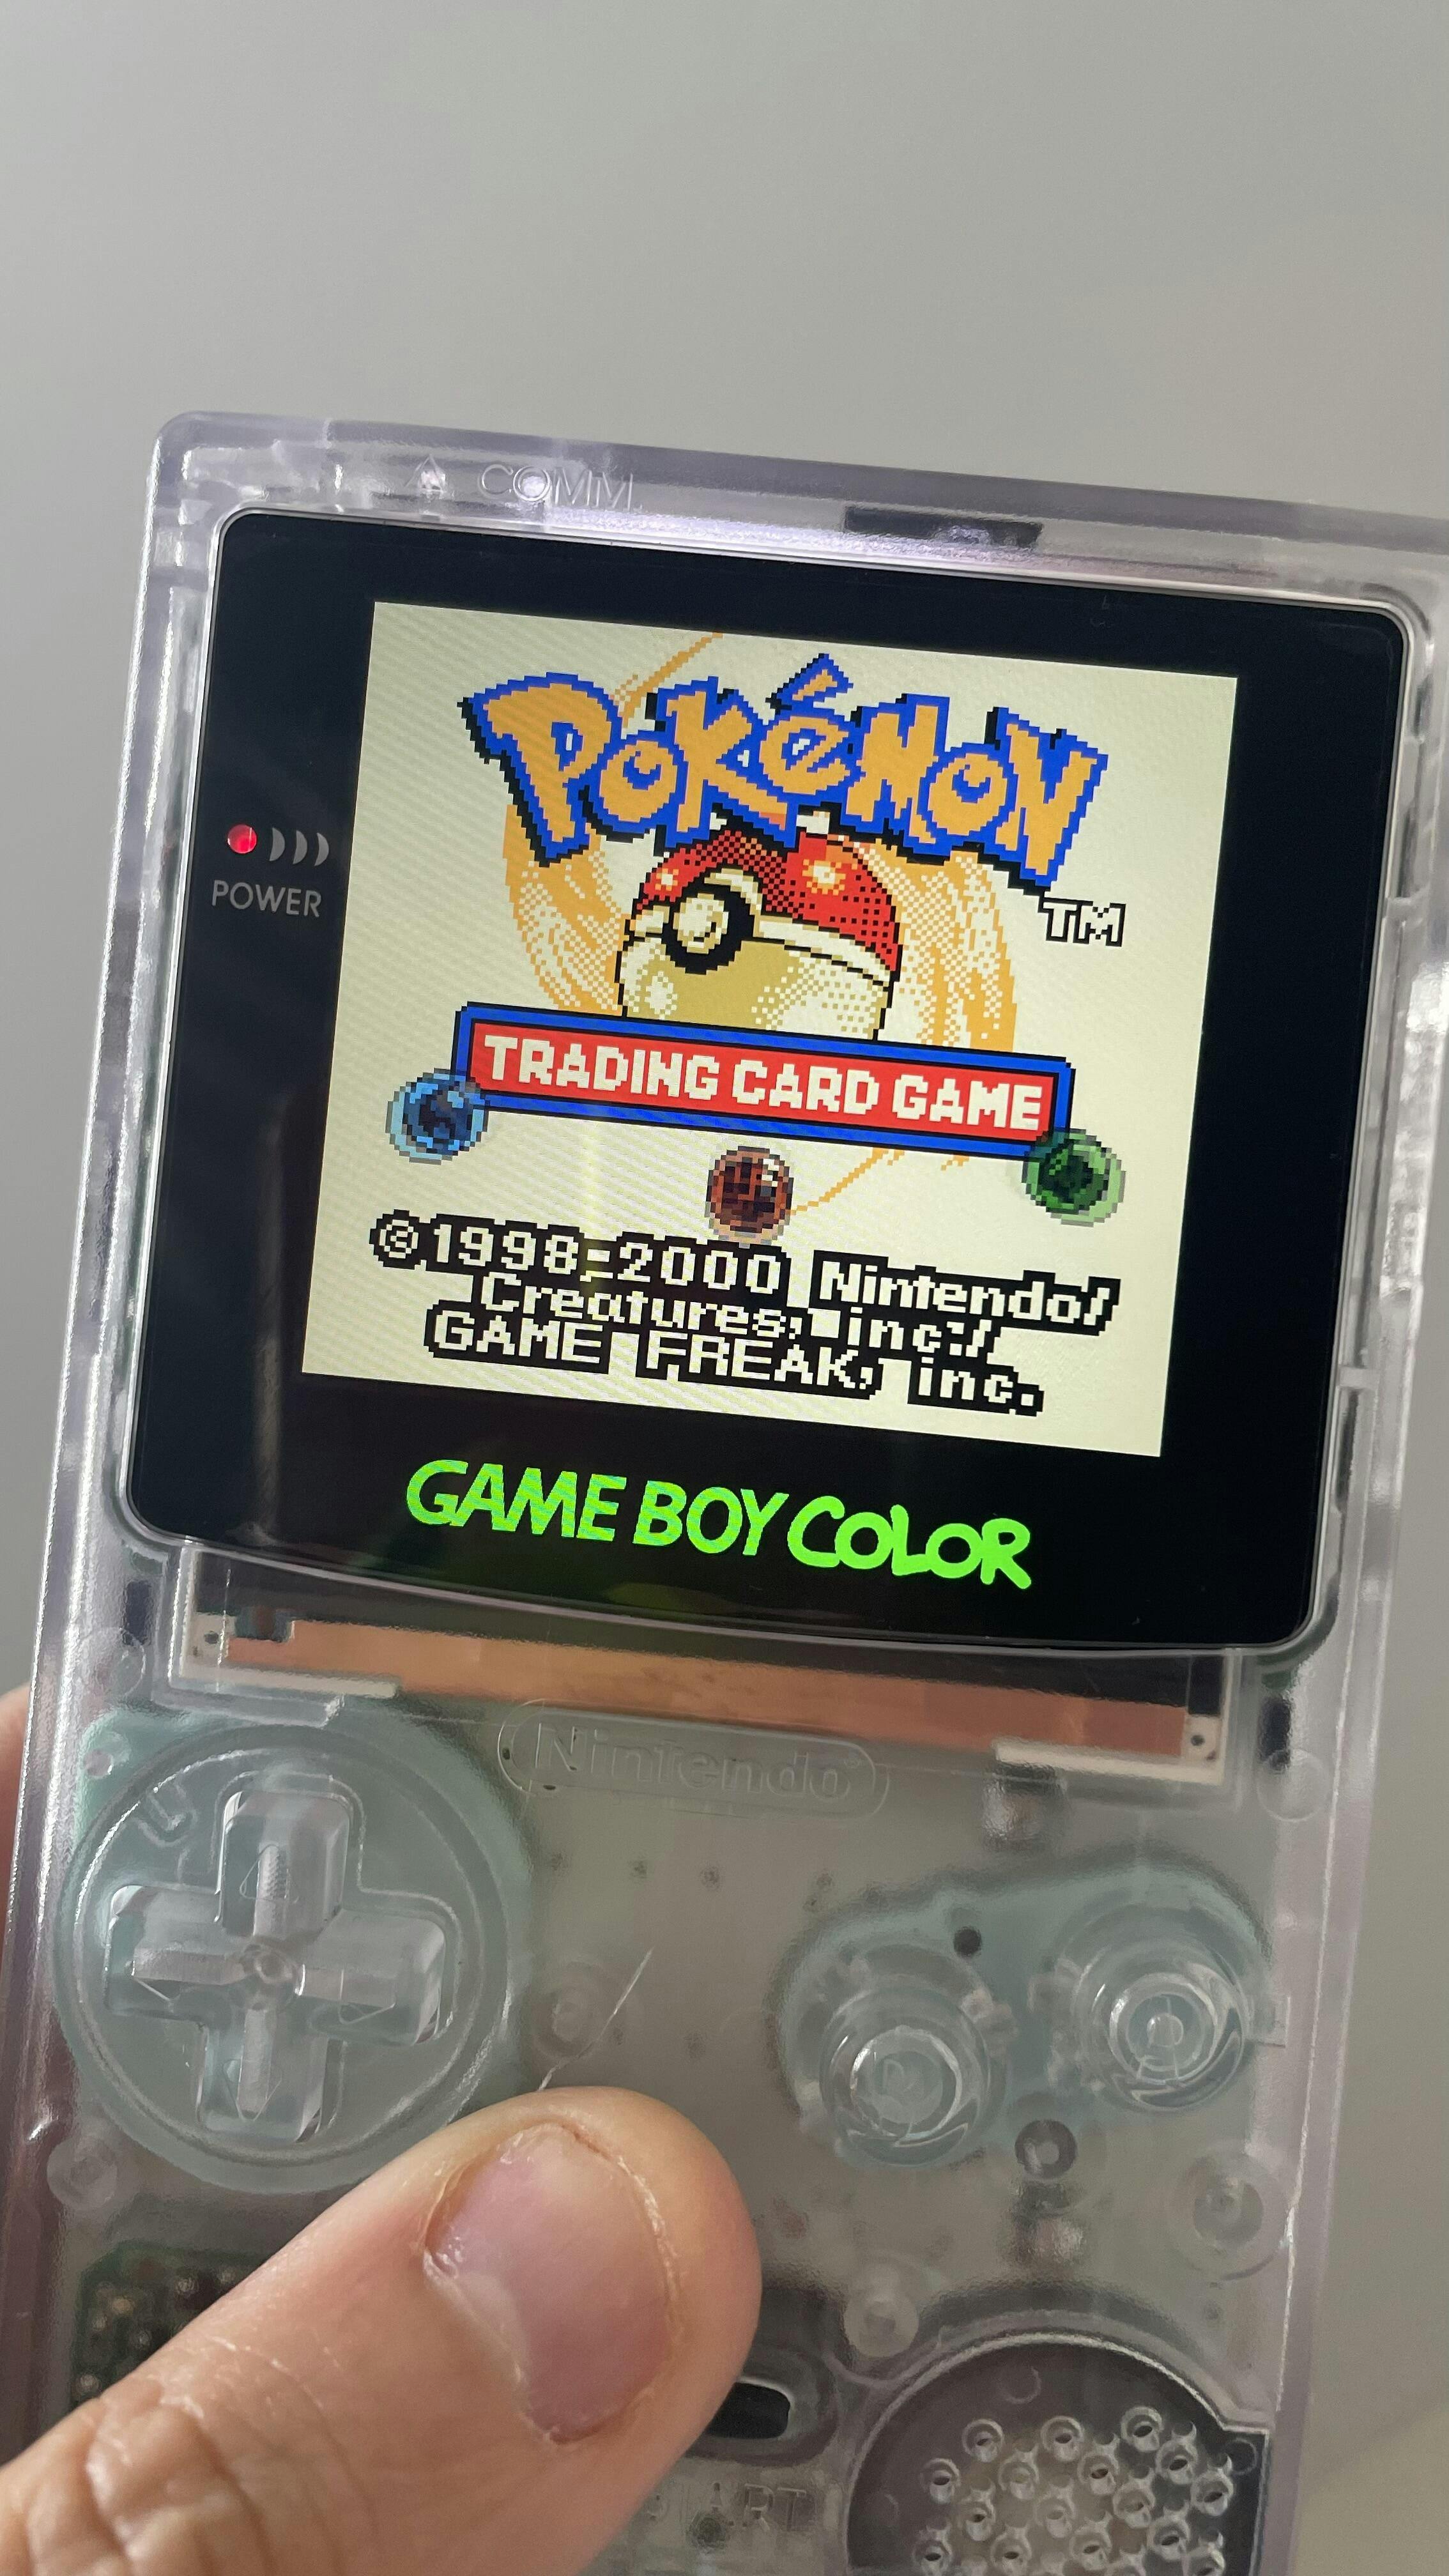
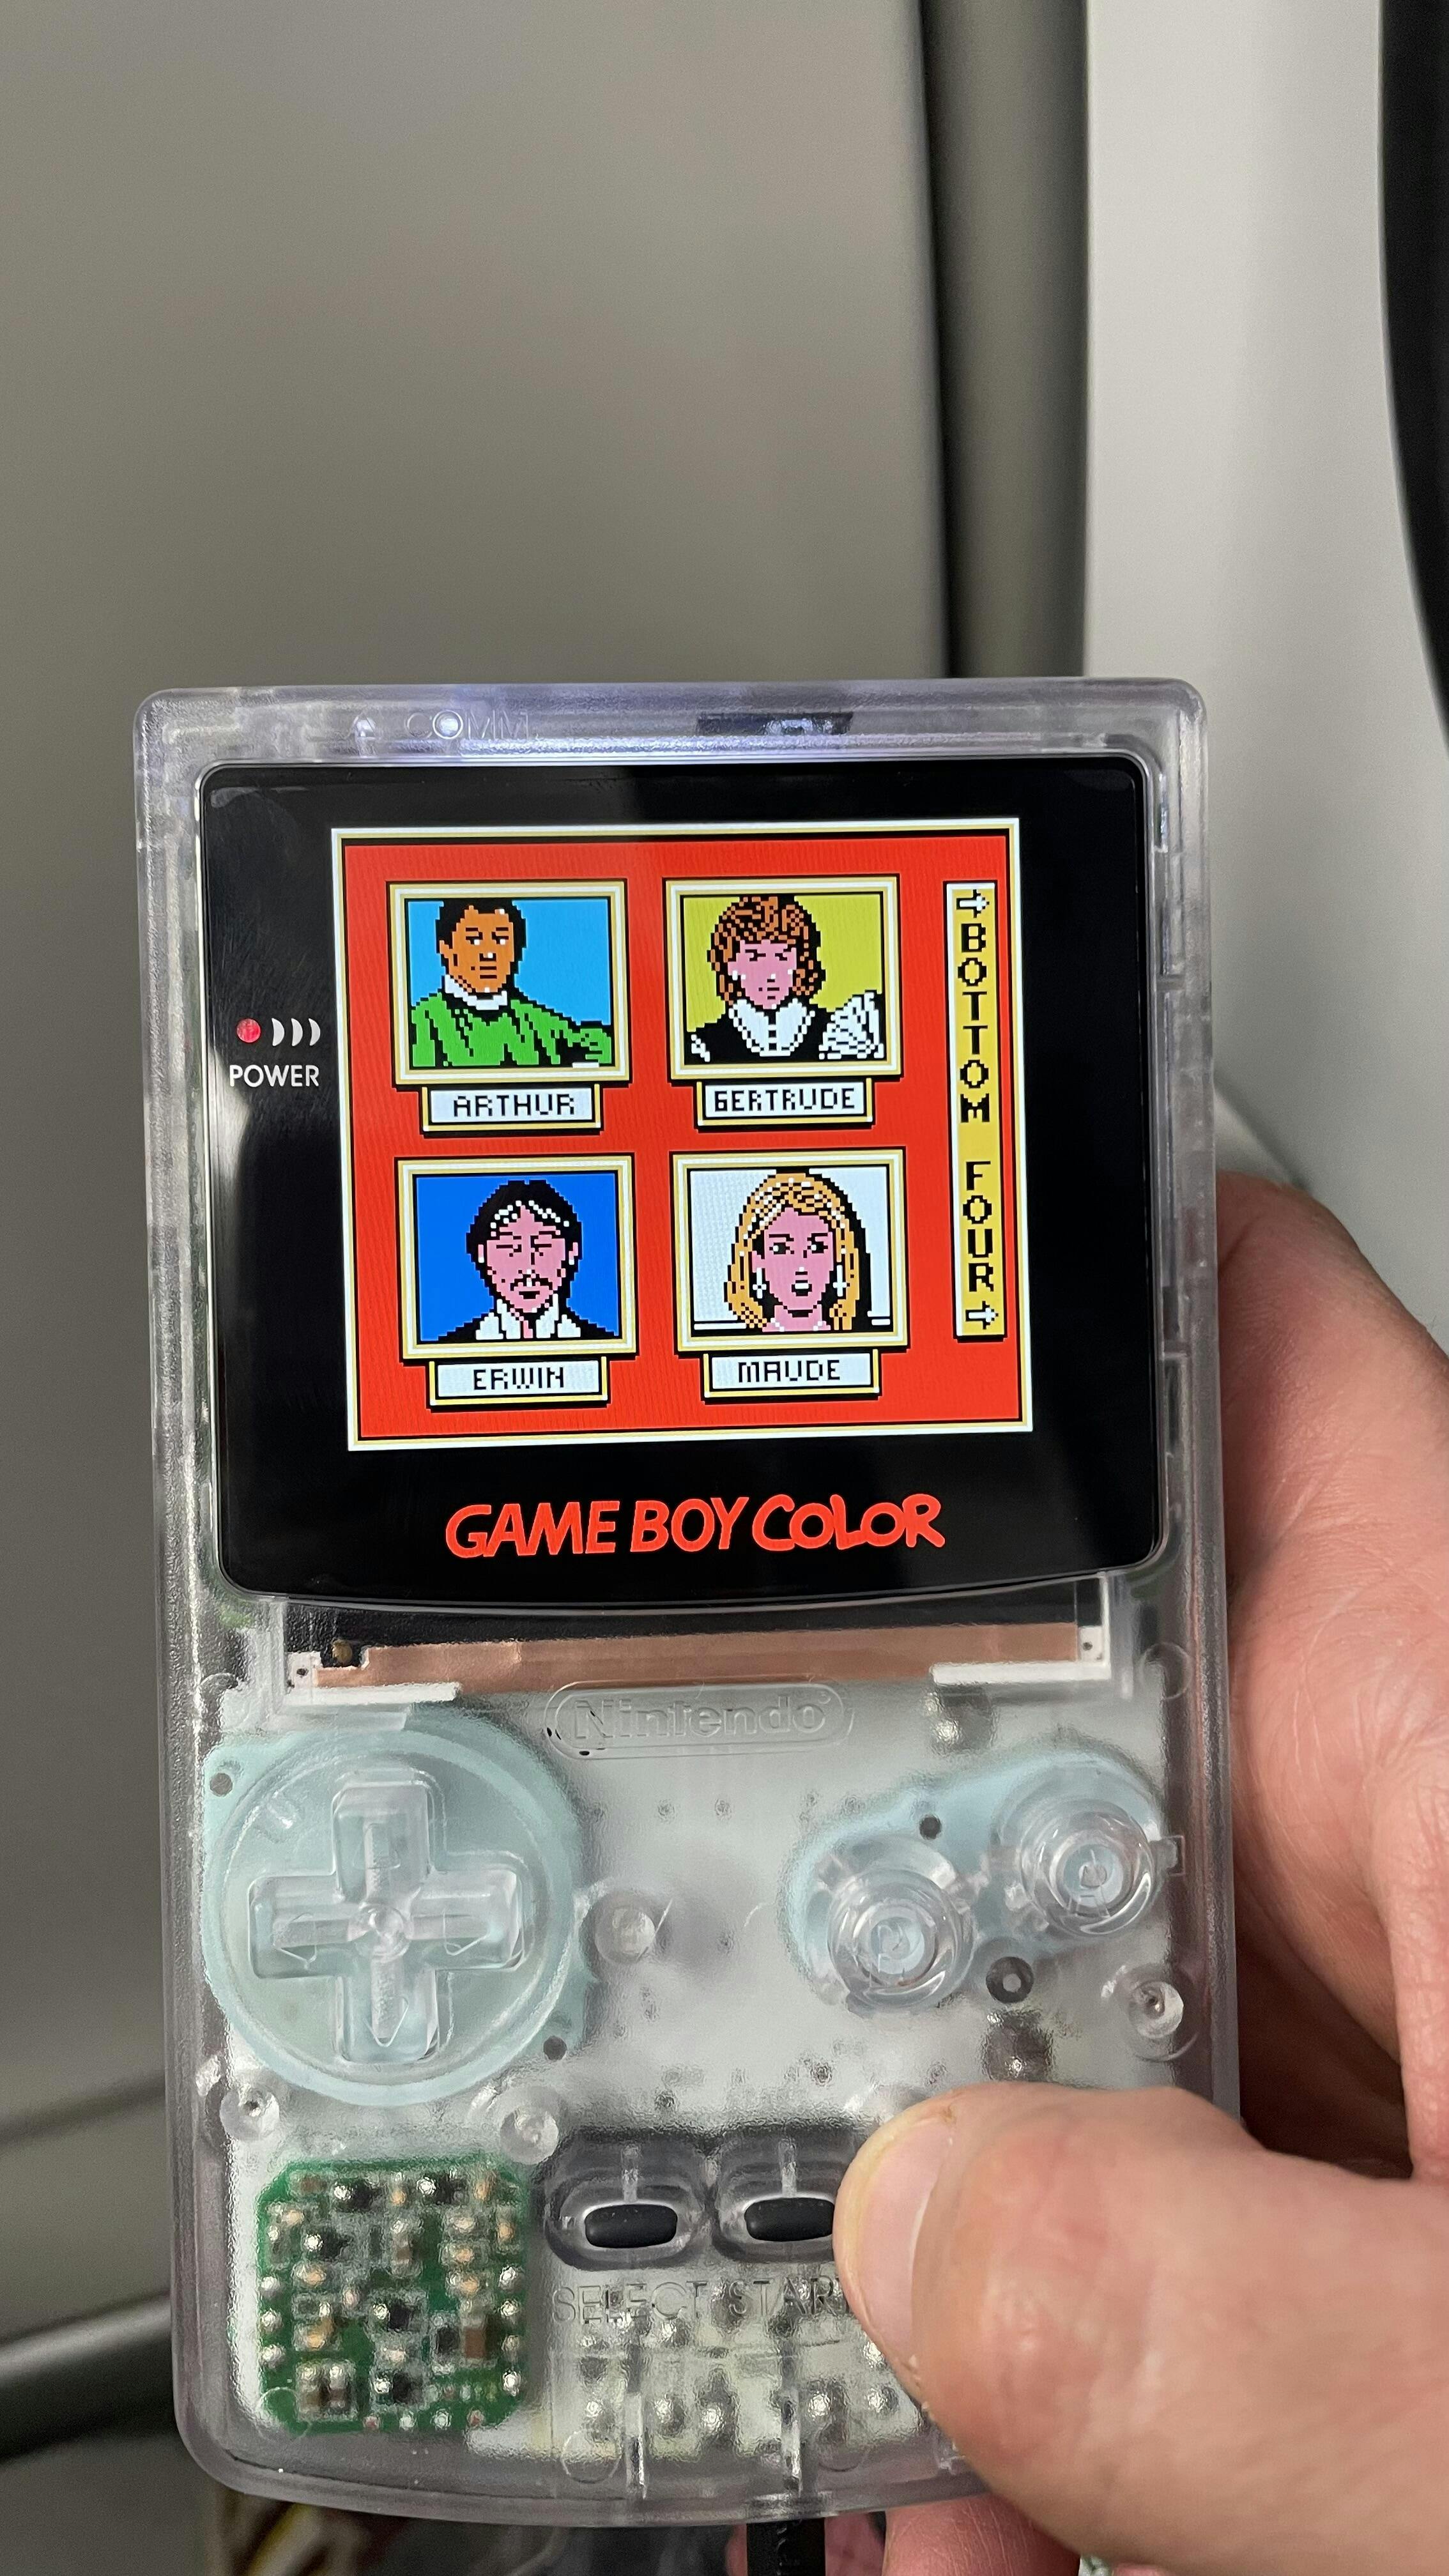
FunnyPlaying Game Boy Color Q5 Laminated IPS Screen Kit with OSD
Functions
1. This is a drop in version and if desired the power wire does not need soldering for it to function.
2. OSD included in the ribbon software
3. Added logo backlight display and color change
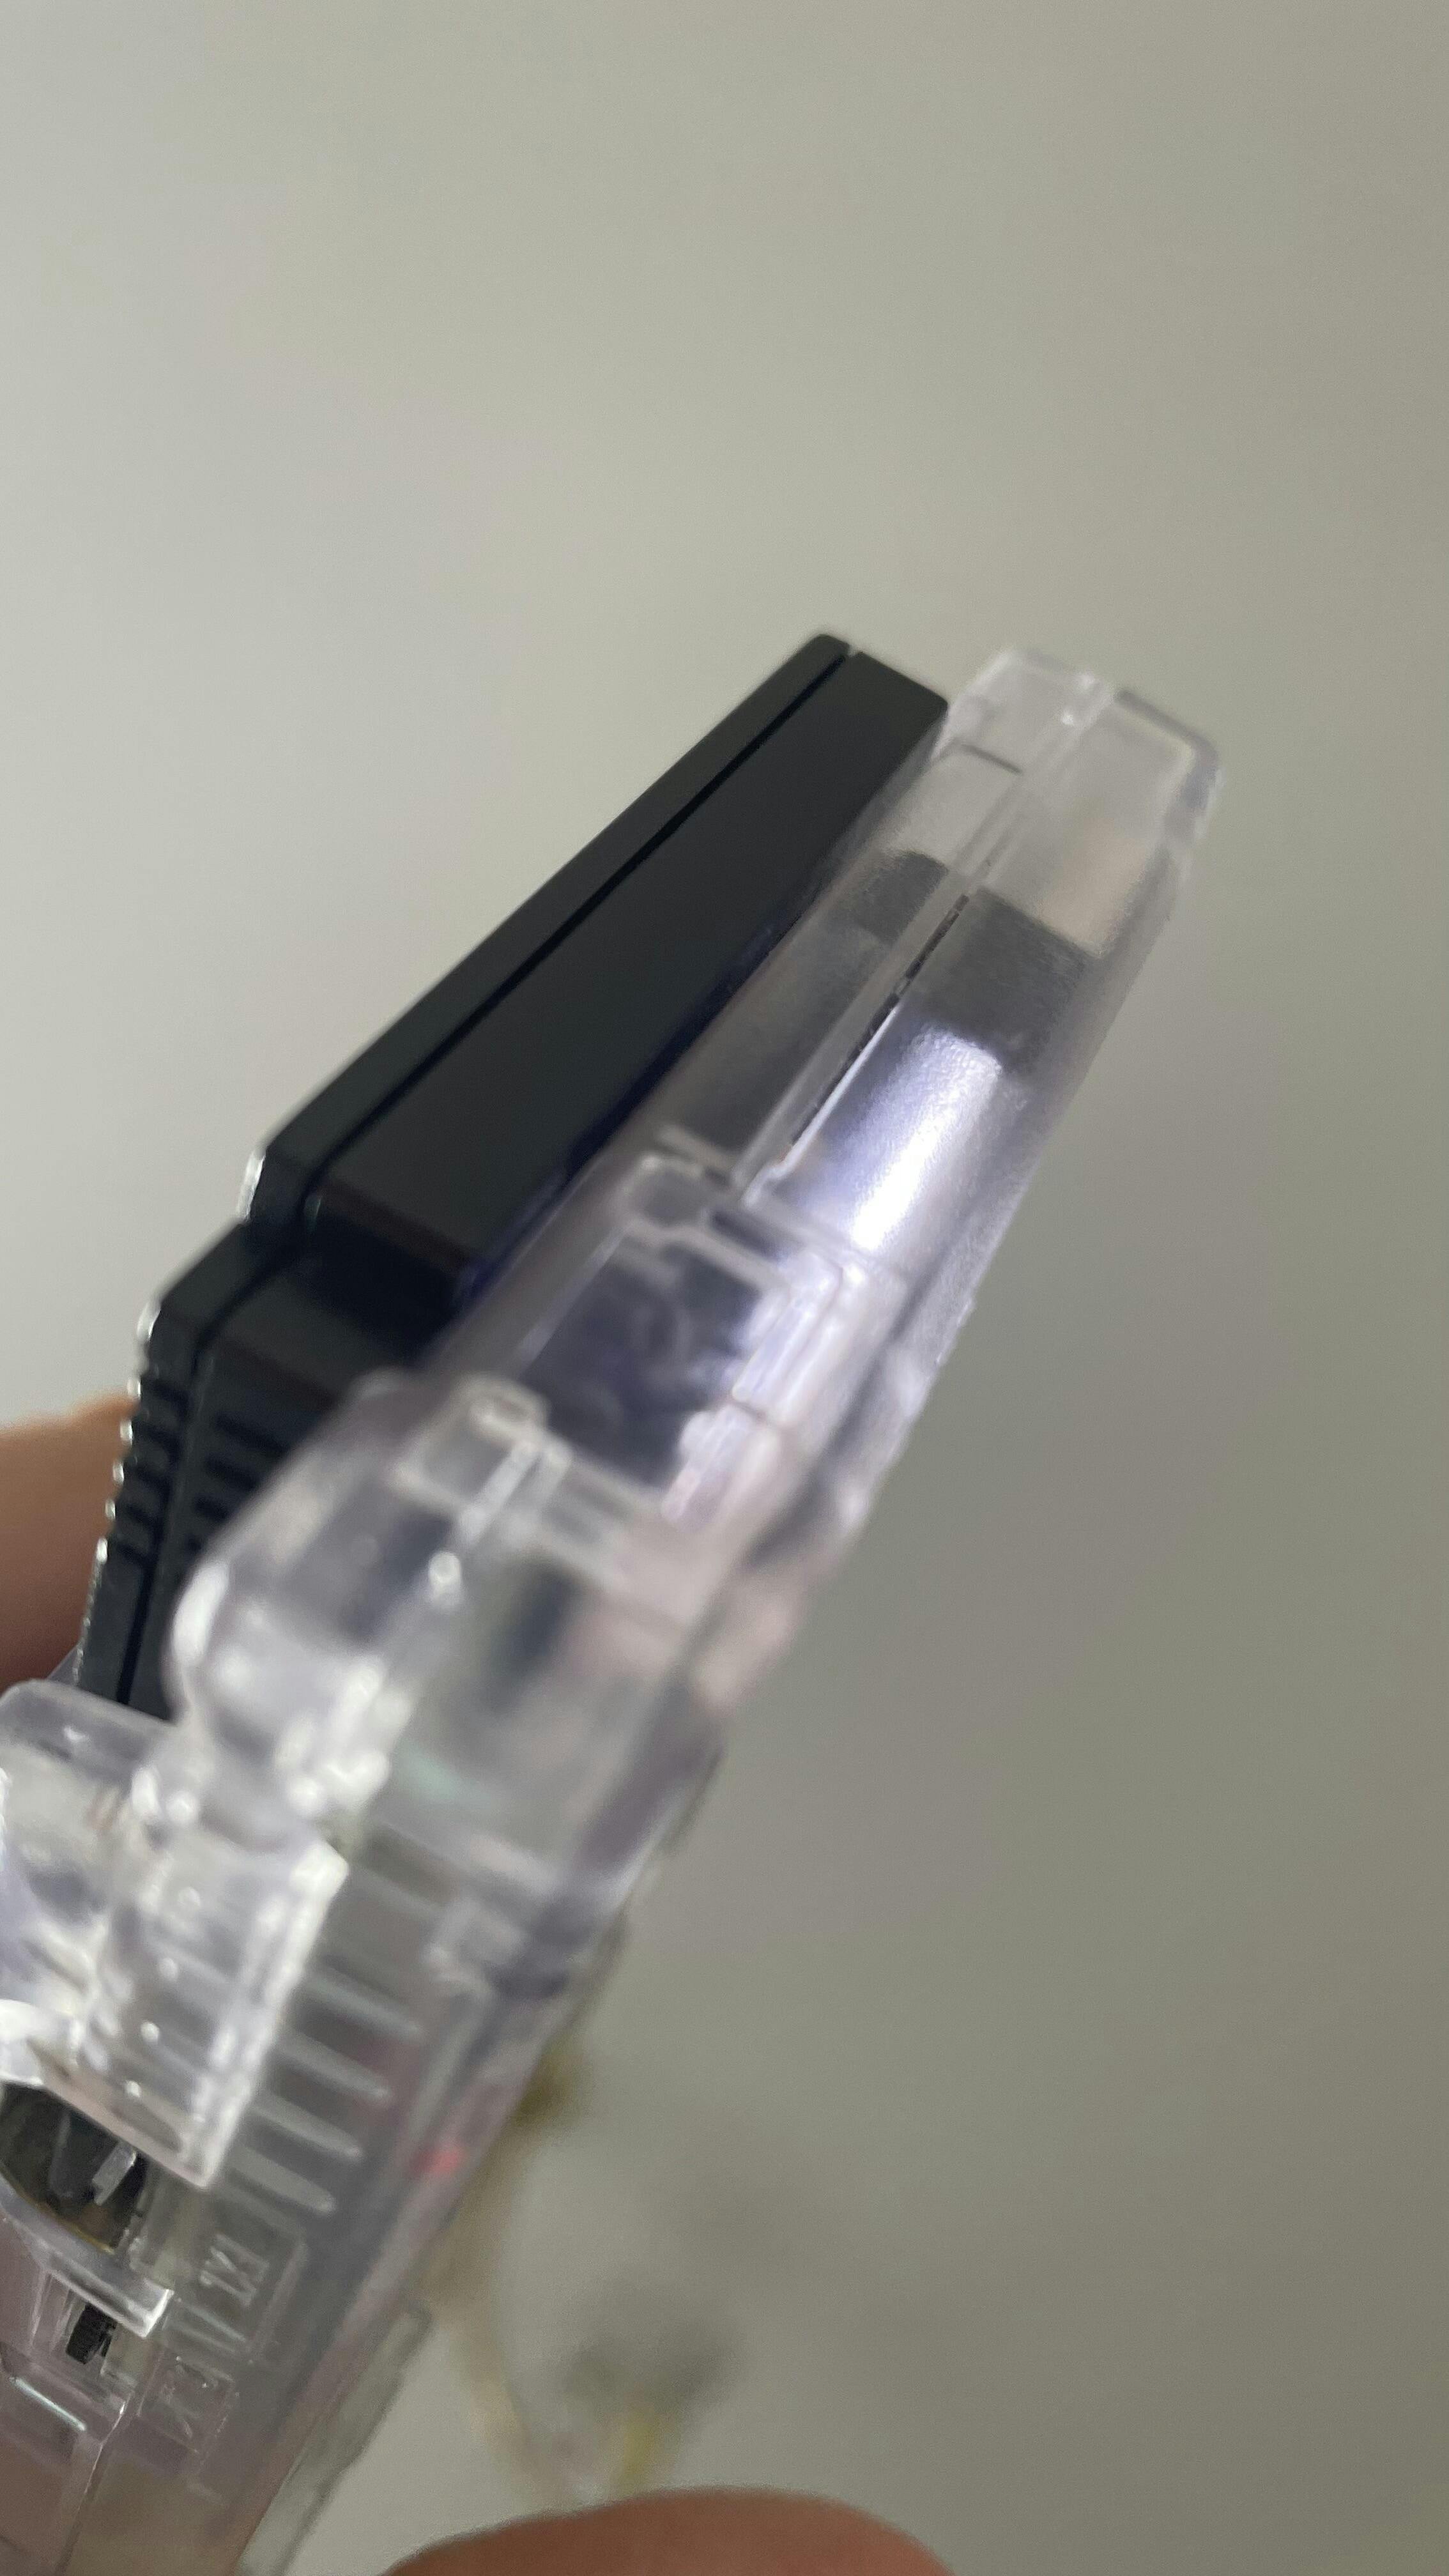
4. Laminated lens which comes pre stuck to the screen. (No extra glass lens required)
5. Adjust the position of the image post installation.
6. Touch sensor performance is improved and includes brightness control
7. 5 display modes (default/none, vertical scan lines (standard, dark, or thick), and retro pixel grid)
What is included;
- 1 x IPS LCD Screen
- 1 x ribbon cable (FunnyPlaying)
- 1 x Laminated lens
- 2 x light bleed stickers (Not pictured - optional install)
- 3 x wires (Not pictures - optional for button controls)
- 1 x touch ribbon cable (Not pictured - optional incase of malfunction of the built in touch sensor)
Whats not included;
Tape to prevent possible shorts. We recommend Kapton tape.
FunnyPlaying drop in laminated shell
Notes;
1. The original power management of the Gameboy Color motherboard is very inefficient. This ribbon bypasses the inefficient power management and has its own within the ribbon.
2. Shell modification to fit the laminated lens is not recommended. Instead you can purchase a FunnyPlaying GBC shell which has been moulded to fit here.
3. The original GBC display is 43 x 41mm. This display is 49.5 x 44.5mm. A lens is not required as one is laminated as part of the screen.
4. The built in touch sensor controls the OSD
Press and hold the touch sensor = OSD activation / deactivation
Short tap touch sensor = move up in the selected option
Long tap touch sensor = move right on the OSD options
BRT = Screen brightness
DSP = Display mode (5 levels)
FRM = Frame blending (remove flickering)
LGC = Logo Color (27 presets)
RGB = Set your own color
N = next page
XST = Moving screen on the X adis
YST = Moving display on the Y axis
5. Please bench test your screen kit for faults before installation. See our TikTok guide on how to test a GBC. A photo or video will be required for potential warranty claims. Any issues are to be reported before installing inside a shell or adhering to gasket. Once stuck down it will not remove without damaging the screen or the ribbon.
6. It is advisable to wear a static bracelet before installing the screen to avoid any potential shorts. We also highly recommend insulating the PCB with Kapton tape as any contact with the PCB could prevent the screen from working correctly.
Customer Reviews
This is amazing and just what I wanted.
I couldn’t find any instructions so it was a lot of trial and error.
It was also dumb luck that I found the touch sensor and managed to figure out the controls.
Now I know this I’ll definitely buy it again.
Brilliant little up grade
Great Screen with vibrant colour and very easy to install.
This screen is excellent.
Very, very easy to install, literally with no soldering required. Even if you want to use all the futures. I was going to solder the two wires that came with the kit to the start and select buttons but by tapping and holding down on the touch sensor pad it activated all the features and you can cycle through them by tapping and holding down on the sensor.
And of course this is laminated so not dust between the screen and the lens :)
Only drawback I can think of is when the lens gets a scratched then you’ll have to replace the whole screen.
But aside from this kit is excellent. Bright and full of features.
Highly recommended.
The panel is easy to install. keep in mind, you have to solder 3 cables to get all features working.